
Shared hosting is one of the cheapest ways to deploy a Laravel application to a live server. As a result, it is a popular way of deploying sites ranging from single-page applications to full-stack applications because in one subscription, you can get free email accounts and free backups, among other things, depending on your host.
There are many hosting providers for Laravel to choose from, and the majority of them offer shared hosting as it is the cheapest for most people. Some of the providers that support Laravel Hosting are Bluehost and Hostinger.
In this article, you will learn how to deploy a Laravel application on shared hosting(Cpanel)
This tutorial will guide you on how to deploy and host the application.
How do you deploy a Laravel Application to Shared Hosting?
To deploy a Laravel Application to shared hosting, we can use the following steps.
Step 1: Compress the Laravel project folder.
The Laravel application should be compressed to a zip file on your local machine. This allows for easy upload to the Cpanel.
Step 2: Upload to Cpanel
Login to your Cpanel account and head over to file manager and open the file manager

On the file manager, create a new folder on the root directory and add a name to it and click on the newly created folder.

Upload the compressed Laravel project zip file to the Laravel folder you created.
Step 3: Extract the Laravel project folder
Extract the files by right-clicking on the zip file. Extract them in the same folder you created in step 2.
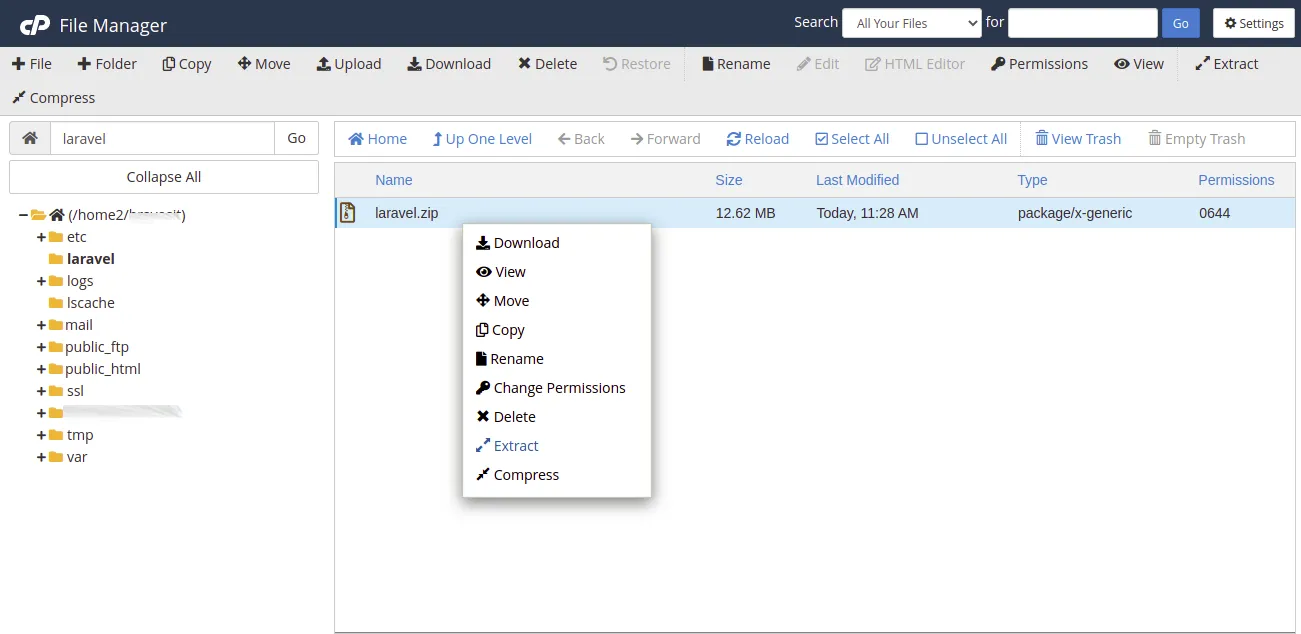
Open the extracted folder and click on the select all tab to select all the files. Right-click on the files and click move. We want to move them to the main folder we created and then delete the folder that was created when we extracted the files.
Delete the “/Laravel” path and have them in the folder we created earlier.
Step 4: Setting up the index.php file
Navigate to the public folder on the laravel folder(path/to/root/laravel/public) you created and highlight all the files in it and move them to the public_html folder.
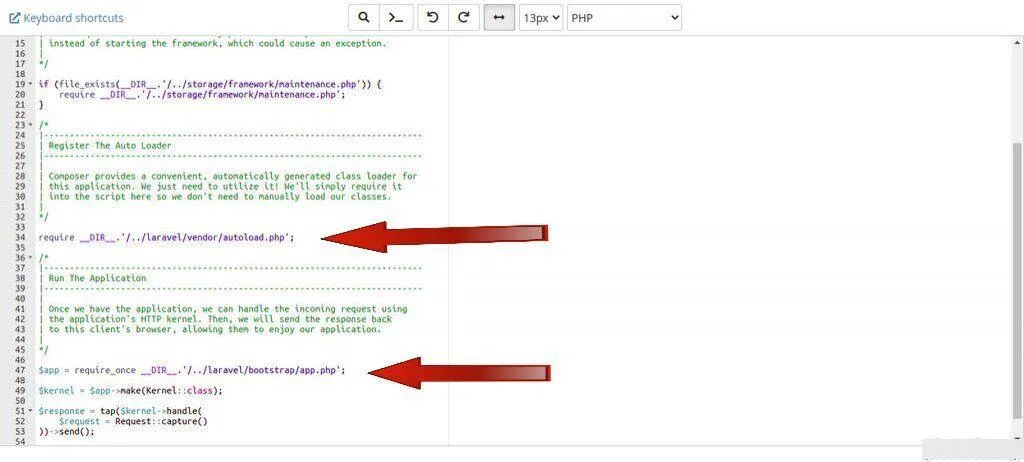
After moving the files, find the index.php file and click on edit. On this file, there are two lines we need to edit to link the index.php with our laravel project folder.
//index.php
<?php

use Illuminate\Contracts\Http\Kernel;
use Illuminate\Http\Request;

define('LARAVEL_START', microtime(true));

/*
|--------------------------------------------------------------------------
| Check If Application Is Under Maintenance
|--------------------------------------------------------------------------
|
| If the application is maintenance / demo mode via the "down" command we
| will require this file so that any prerendered template can be shown
| instead of starting the framework, which could cause an exception.
|
*/

if (file_exists(__DIR__.'/../storage/framework/maintenance.php')) {
    require __DIR__.'/../storage/framework/maintenance.php';
}

/*
|--------------------------------------------------------------------------
| Register The Auto Loader
|--------------------------------------------------------------------------
|
| Composer provides a convenient, automatically generated class loader for
| this application. We just need to utilize it! We'll simply require it
| into the script here so we don't need to manually load our classes.
|
*/

require __DIR__.'/../laravel/vendor/autoload.php'; //update this part

/*
|--------------------------------------------------------------------------
| Run The Application
|--------------------------------------------------------------------------
|
| Once we have the application, we can handle the incoming request using
| the application's HTTP kernel. Then, we will send the response back
| to this client's browser, allowing them to enjoy our application.
|
*/

$app = require_once __DIR__.'/../laravel/bootstrap/app.php'; //update this part

$kernel = $app->make(Kernel::class);

$response = tap($kernel->handle(
    $request = Request::capture()
))->send();

$kernel->terminate($request, $response);
Step 5. Setting up the database
Go to the database tab in the Cpanel as shown below and click on the desired database
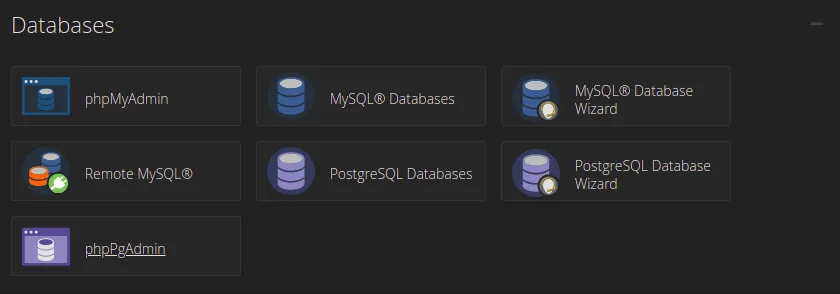
In this case, I will use the MySQL database for reference. Click on the option for MySQL Databases and this will allow us to create a database
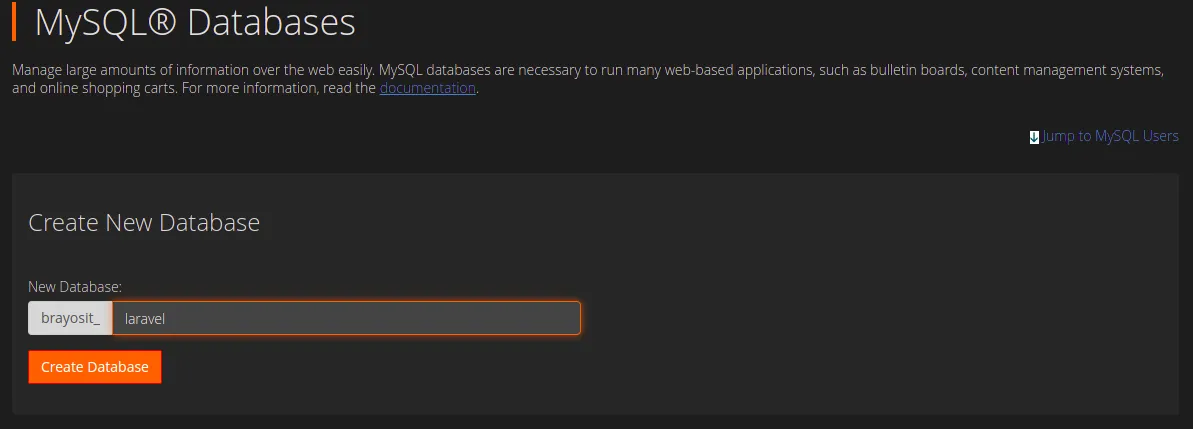
Before we create a database we would want to create a user account associated with the database.
To do so, we will need to scroll down until we reach the Create a user section which allows for the creation of a user to be associated with the database account. We then need to add the user to the database, allowing the account to have all privileges on the database.
We then create a database. Once the database is created, we can go back to the file manager and add the credentials to the .env file.
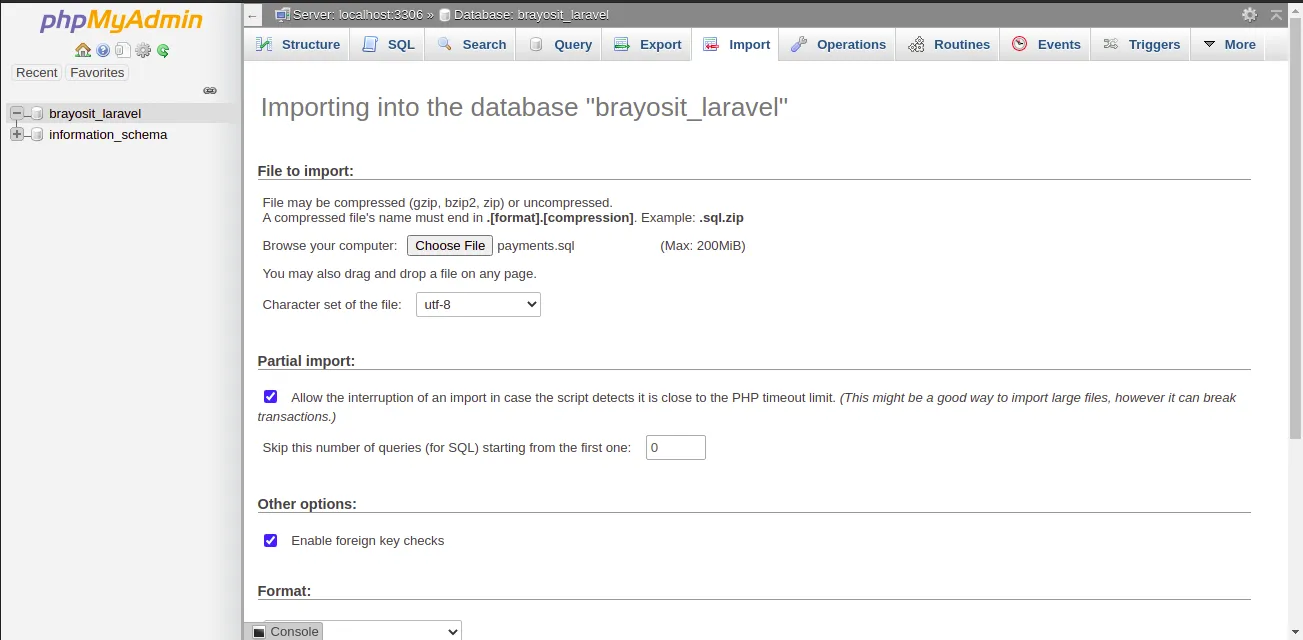
We can then add the SQL file we exported from the MySQL database locally to the host. To do this we have to log in to the PHPMyAdmin and then navigate to the database.
We then upload the file and we are good to go.
Step 6: Adding a Symlink to the Laravel Storage Folder(optional)
If your project requires access to the storage folder that stores files uploaded to the server, we need to create a symlink. Normally we would run php artisan storage:link but in this case, we would need to run a PHP script on our server.
To do so we go to the public_html folder and create a new file. You can name it symlink.php.
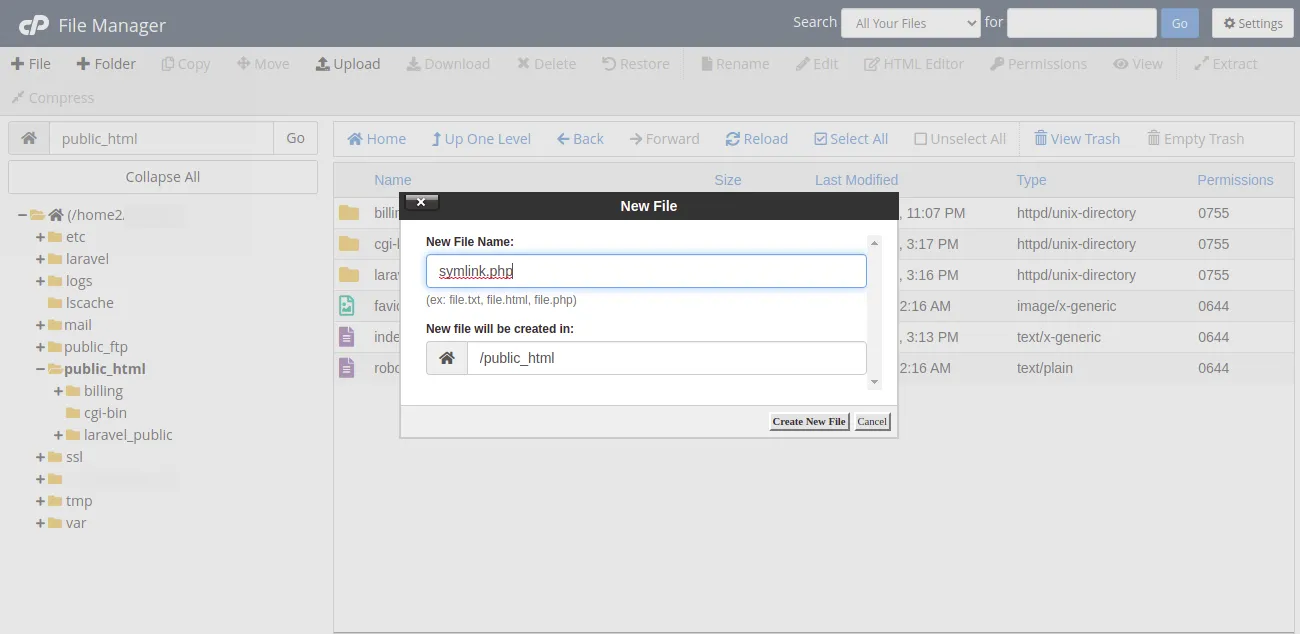
Open the file and add the following line of code
symlink("path/to/the/storage/public/folder(source)","path/to/the/public/folder(destination)");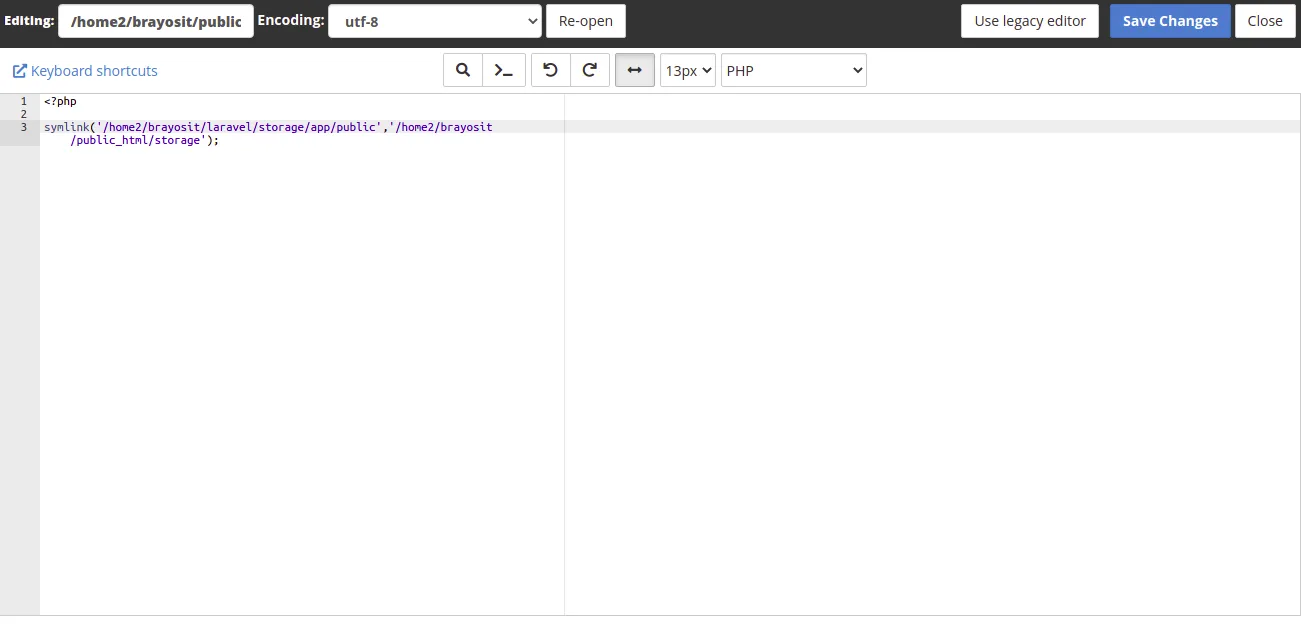
Note: The home2/brayosit as seen on the image should match the path for your server.
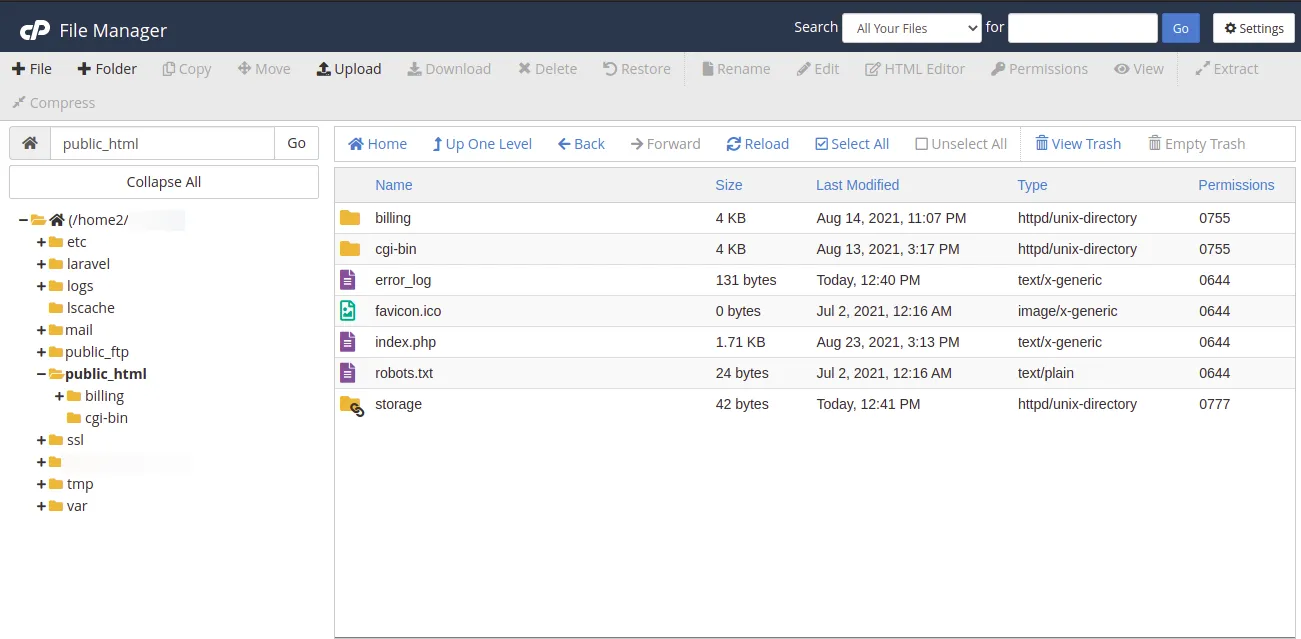
After saving the file we need to run the file. To run the file, we go to the normal domain name and append the link to the file as shown: domain.com/symlink.php
If successful, a storage folder will be created in the public_html folder.
Once done, you can delete the symlink.php file and all your images and files will be accessible.
With that, your application is now ready. You can add a few things such as SMTP settings in the env file and also ensure you change the default timezone of the application in the config/app.php file.
Key factors to note regarding shared hosting
As much as shared hosting can be an affordable way to deploy your Laravel site, I would personally not recommend it. There are several factors that make me reach such a decision
- You might not have access to SSH. This is a huge bottleneck because you would not be able to run artisan commands.
- It might be slow because multiple sites are being hosted on the same server
- You might not have the liberty to run cron jobs at will. Most hosting providers do not provide the ability to schedule tasks on the server as this would impact other sites hosted on the same server.
Conclusion
I think shared hosting is a good place to start deploying your Laravel application, but it definitely is not the best. It is better to have your application in a cloud hosting provider such as
This way, you can have more control over your application, and you will have access to an SSH terminal from where you can run artisan commands at will. You can check this article on how to deploy a Laravel Application on a LEMP stack or on how to deploy a Laravel Application on a LAMP stack. Thank you for reading.