Laravel Hide Id from URLs: A Simple Implementation
Last Updated on March 20, 2024
Introduction
Ever wondered how big services such as youtube tend to hide their ids in their URLs? I am sure you have seen how youtube masks the ids by showing a random string in the query string of a video URL. We also can mask and hide our database ids in Laravel thereby reducing any security risks that would arise in production.
Why hash ids?
There are multiple ways to hide/mask the ids in the URLs. The first way is by using UUIDs. UUIDs are Universally Unique Identifiers that can be used instead of the default incremental ids. Laravel comes with support for UUIDs.
The second way is hashing the IDs using a unique salt. This means that the salt can be set at the server level and have the ids hashed and returned to the frontend as unique strings.
In this article, I am going to hash IDs using salt and return them as random encoded strings. To do so, I will use this package to accomplish that.
Installation
To start using it, we can download the package using Composer into our application
composer require vinkla/hashidsConfiguration
The next step is to publish the configurations. We can use the vendor:publish command to do so.
php artisan vendor:publish --provider="Vinkla\Hashids\HashidsServiceProvider" This will publish the config/hashids.php file which contains the package configurations. The file looks like this
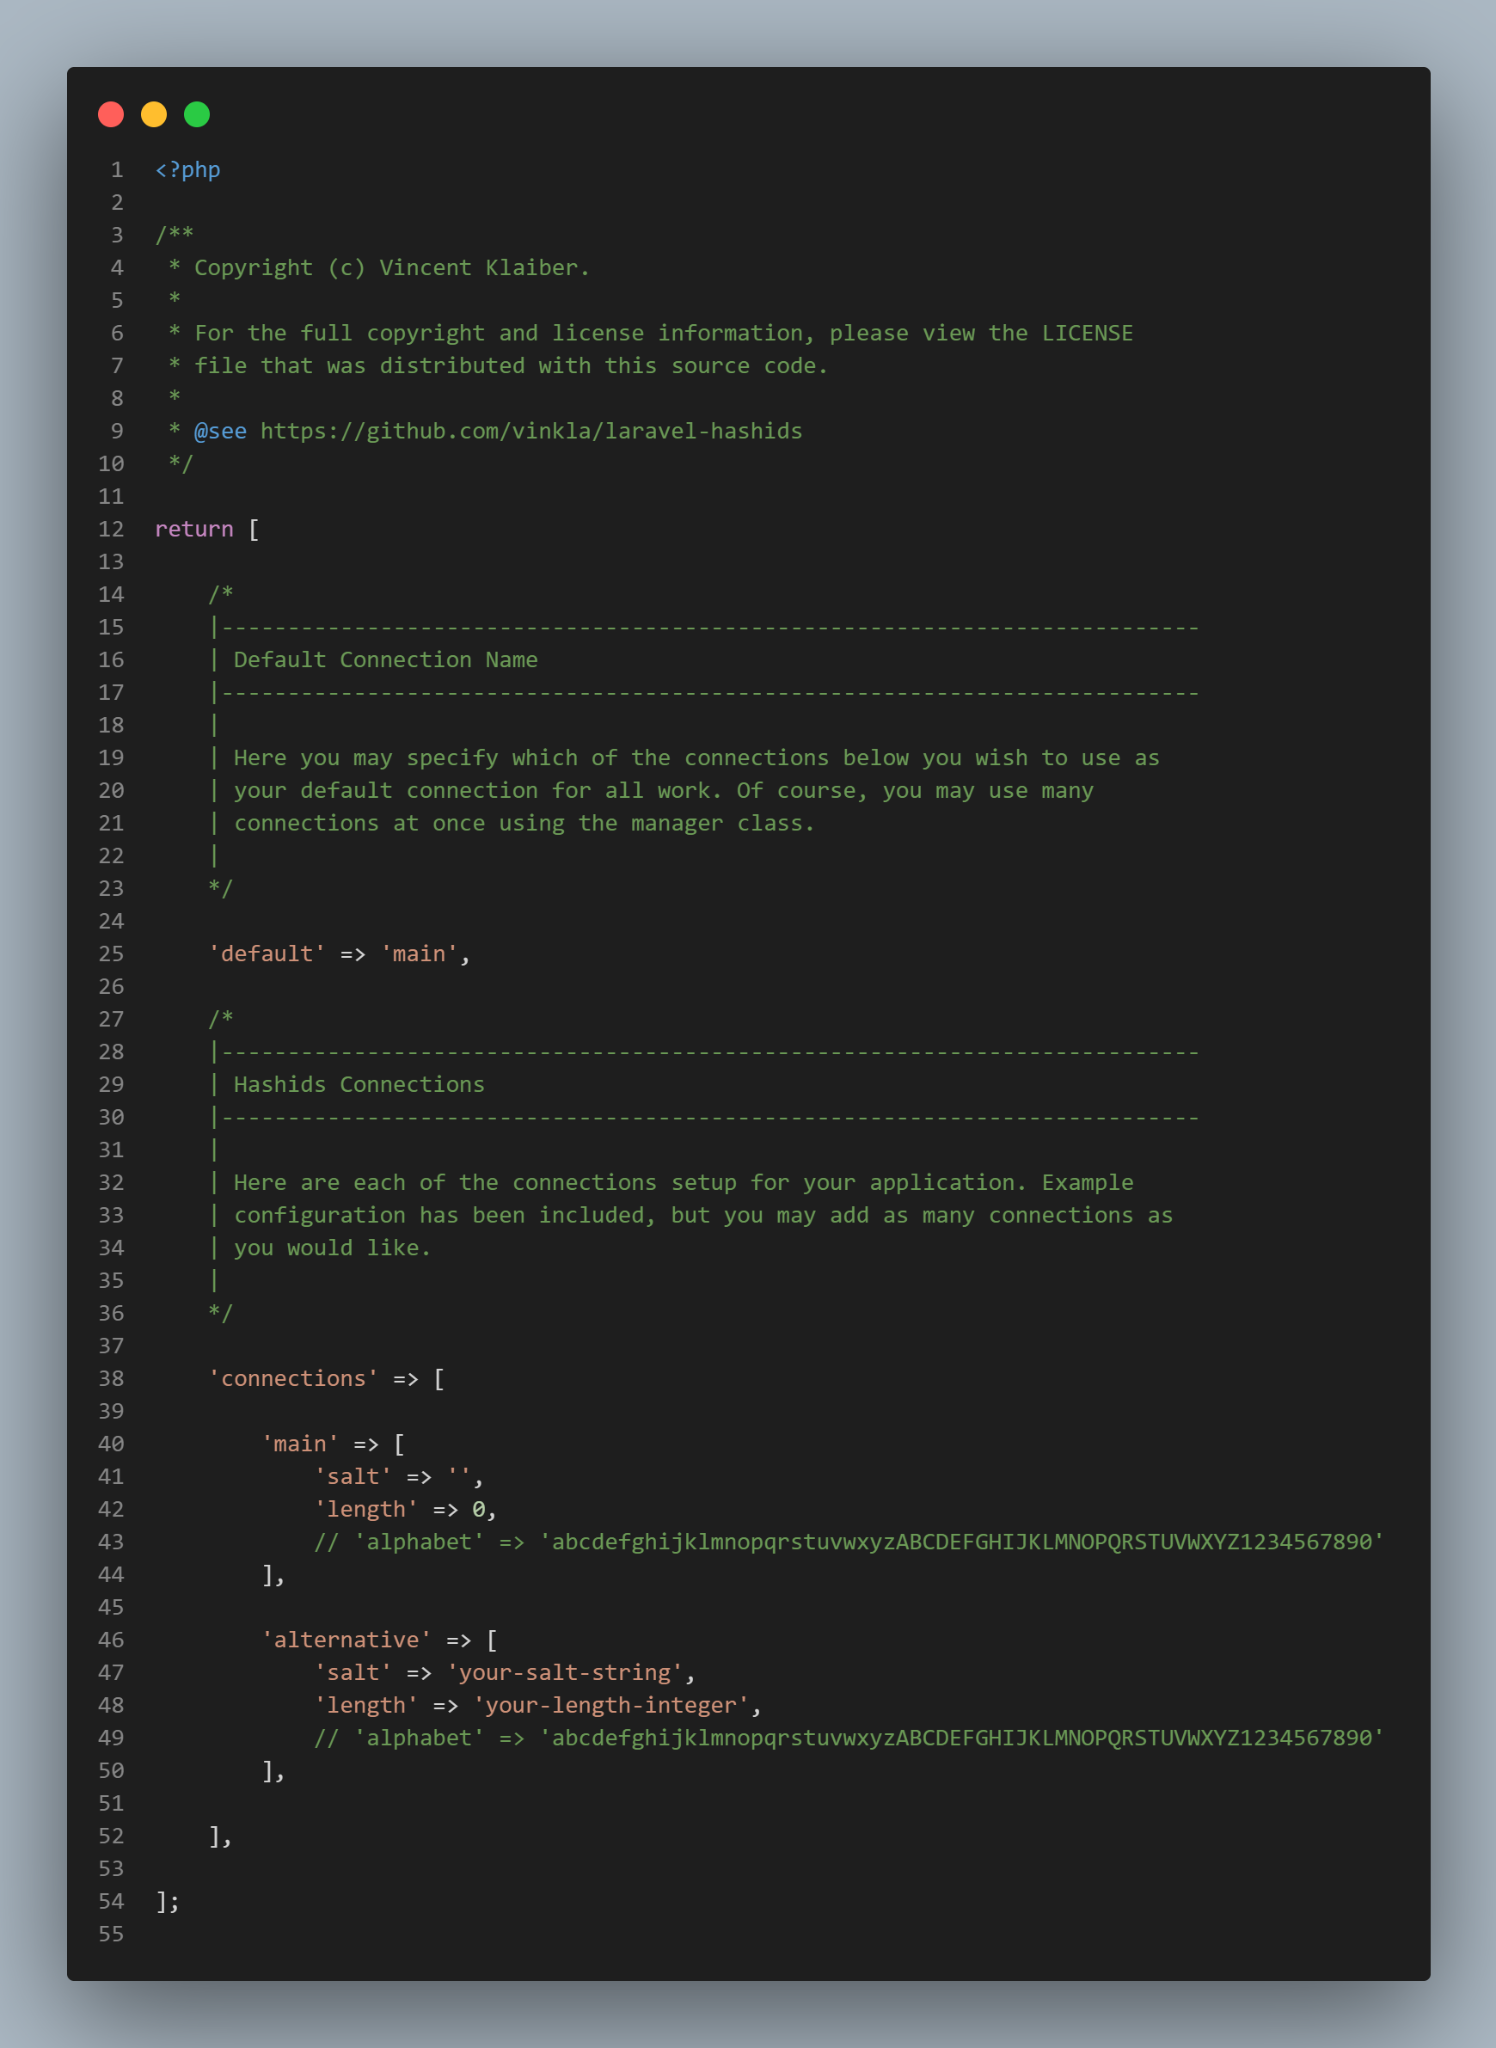
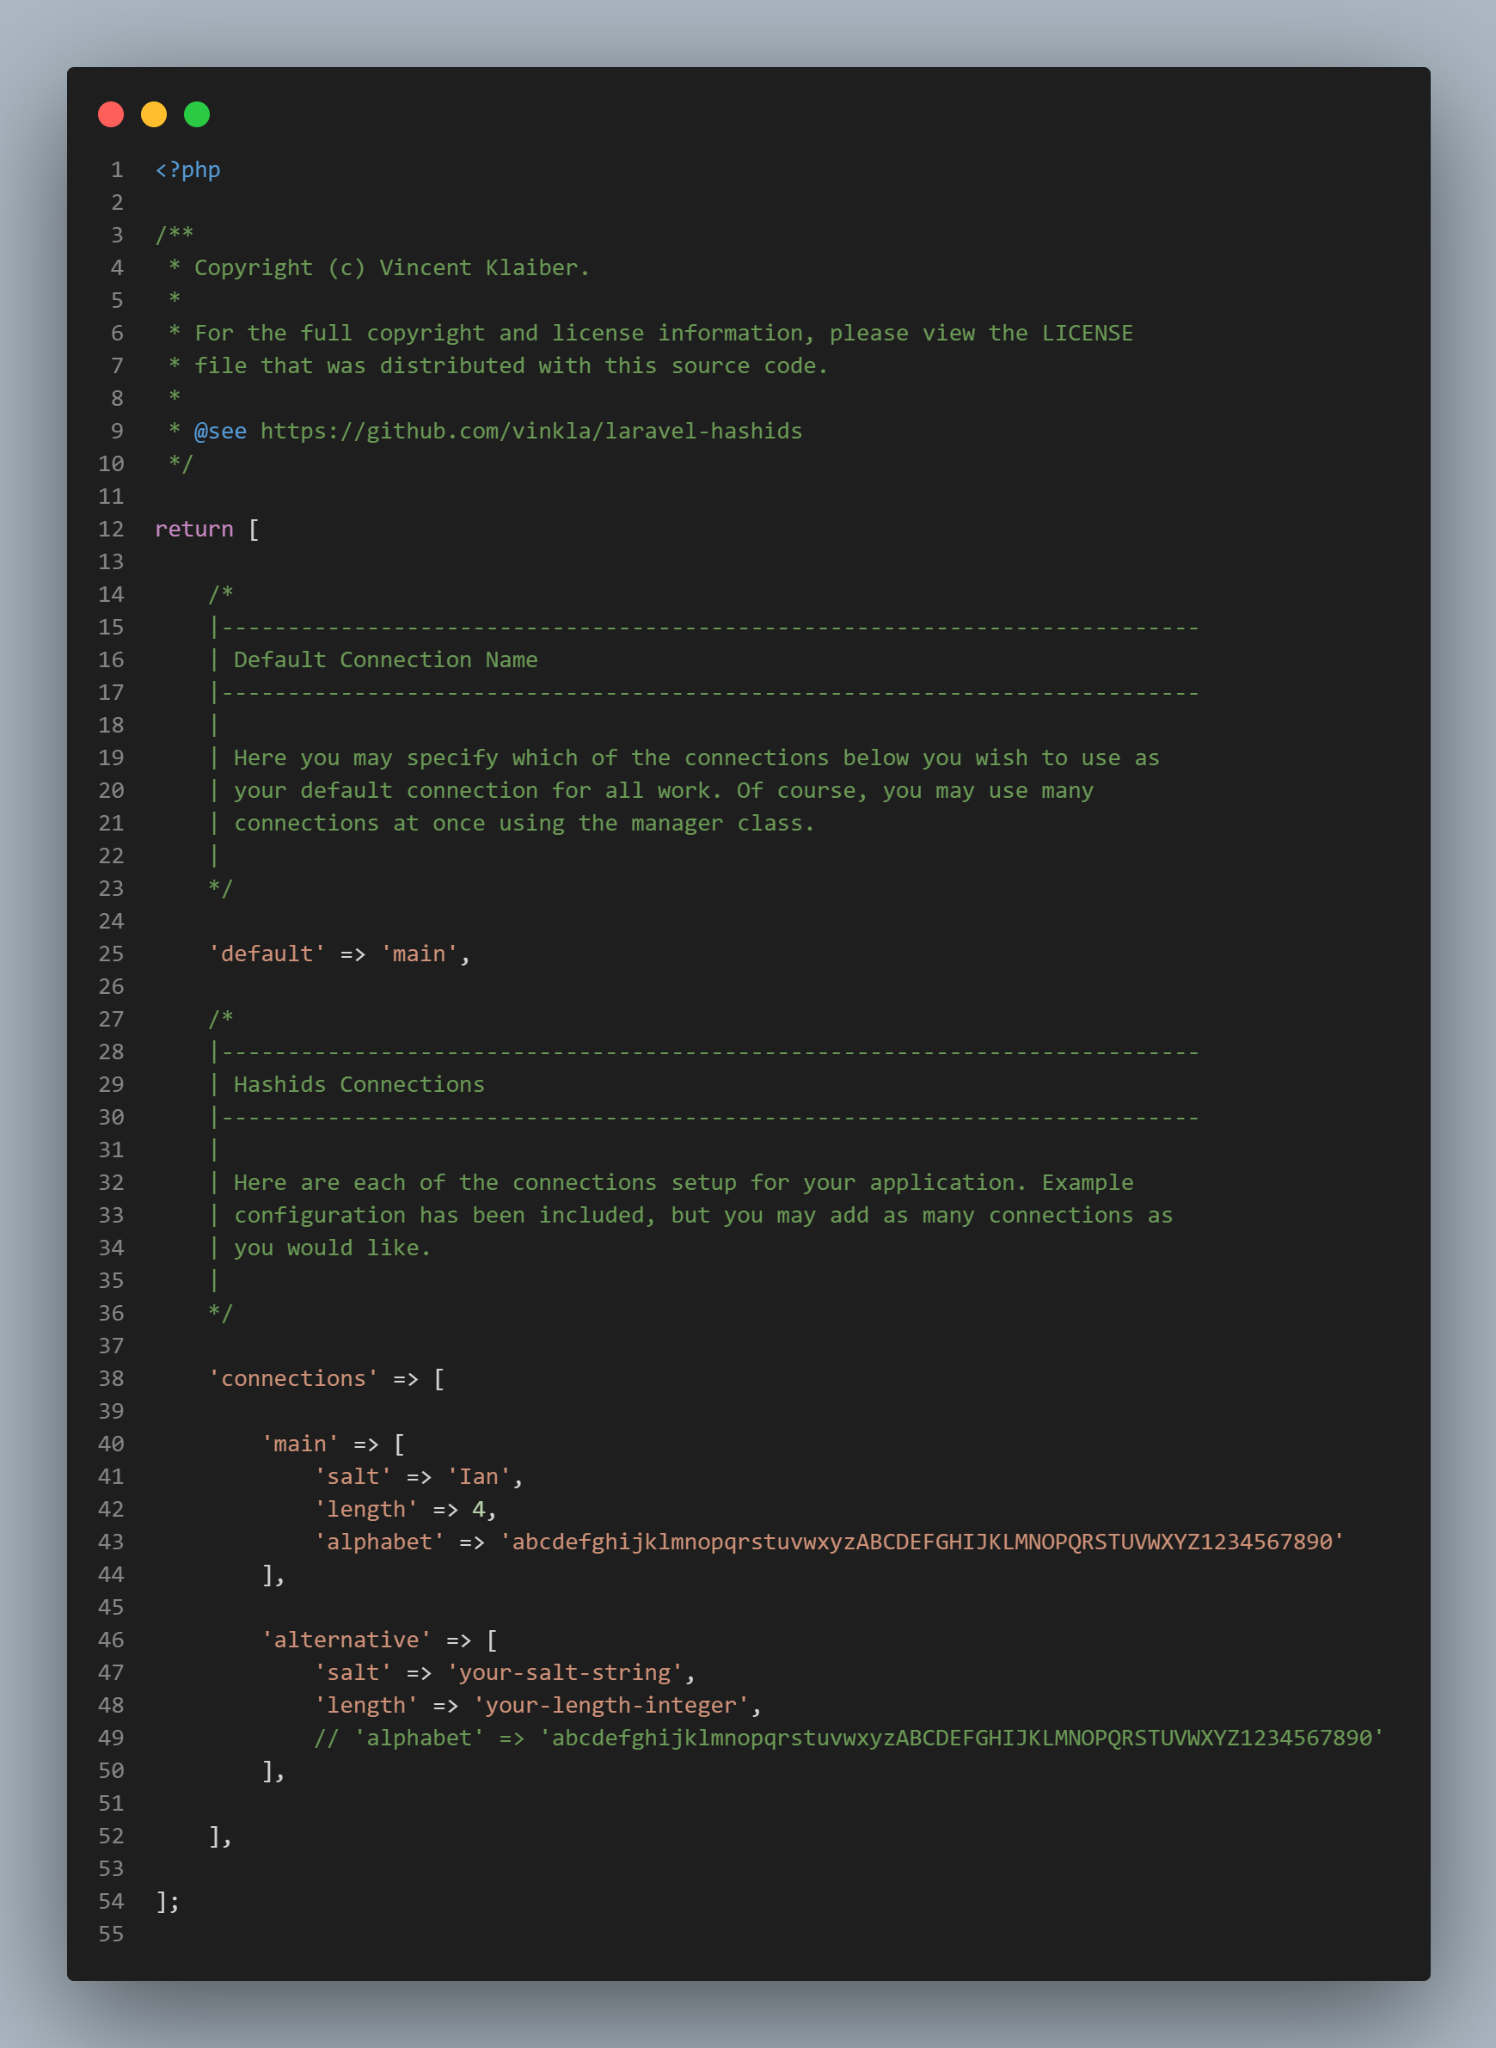
There are a few things we need to change. As you can see the default connection has been set to main and as a result, we need to update the main connection for the package. The first thing we need to do is to uncomment the alphabet part. This is the set of strings the package will use to create a random hash for the database ids.
The next step is to define a salt. This is any additional data that will be used as input in hashing of the ids. By default it is empty so you can leave it as is or add anything. I am going to use my name as the salt.
The last thing is the length of the hash. This will determine the number of characters the random string will contain. I personally prefer using a hash of 4 characters.
'connections' => [

        'main' => [
            'salt' => 'Ian',
            'length' => 4,
            'alphabet' => 'abcdefghijklmnopqrstuvwxyzABCDEFGHIJKLMNOPQRSTUVWXYZ1234567890'
        ],

        'alternative' => [
            'salt' => 'your-salt-string',
            'length' => 'your-length-integer',
            // 'alphabet' => 'abcdefghijklmnopqrstuvwxyzABCDEFGHIJKLMNOPQRSTUVWXYZ1234567890'
        ],

    ],
With that, this is how the new file should look
Encoding Model Attributes.
Now that the package is all set, we can now start hashing the ids. I am going to create a new Blog model and its migration file
php artisan make:model Blog -mrcThe -mrc flag will instruct Laravel to generate a Blog Model, Its migration file and a Blog Controller that is resourceful(has all the relevant methods).
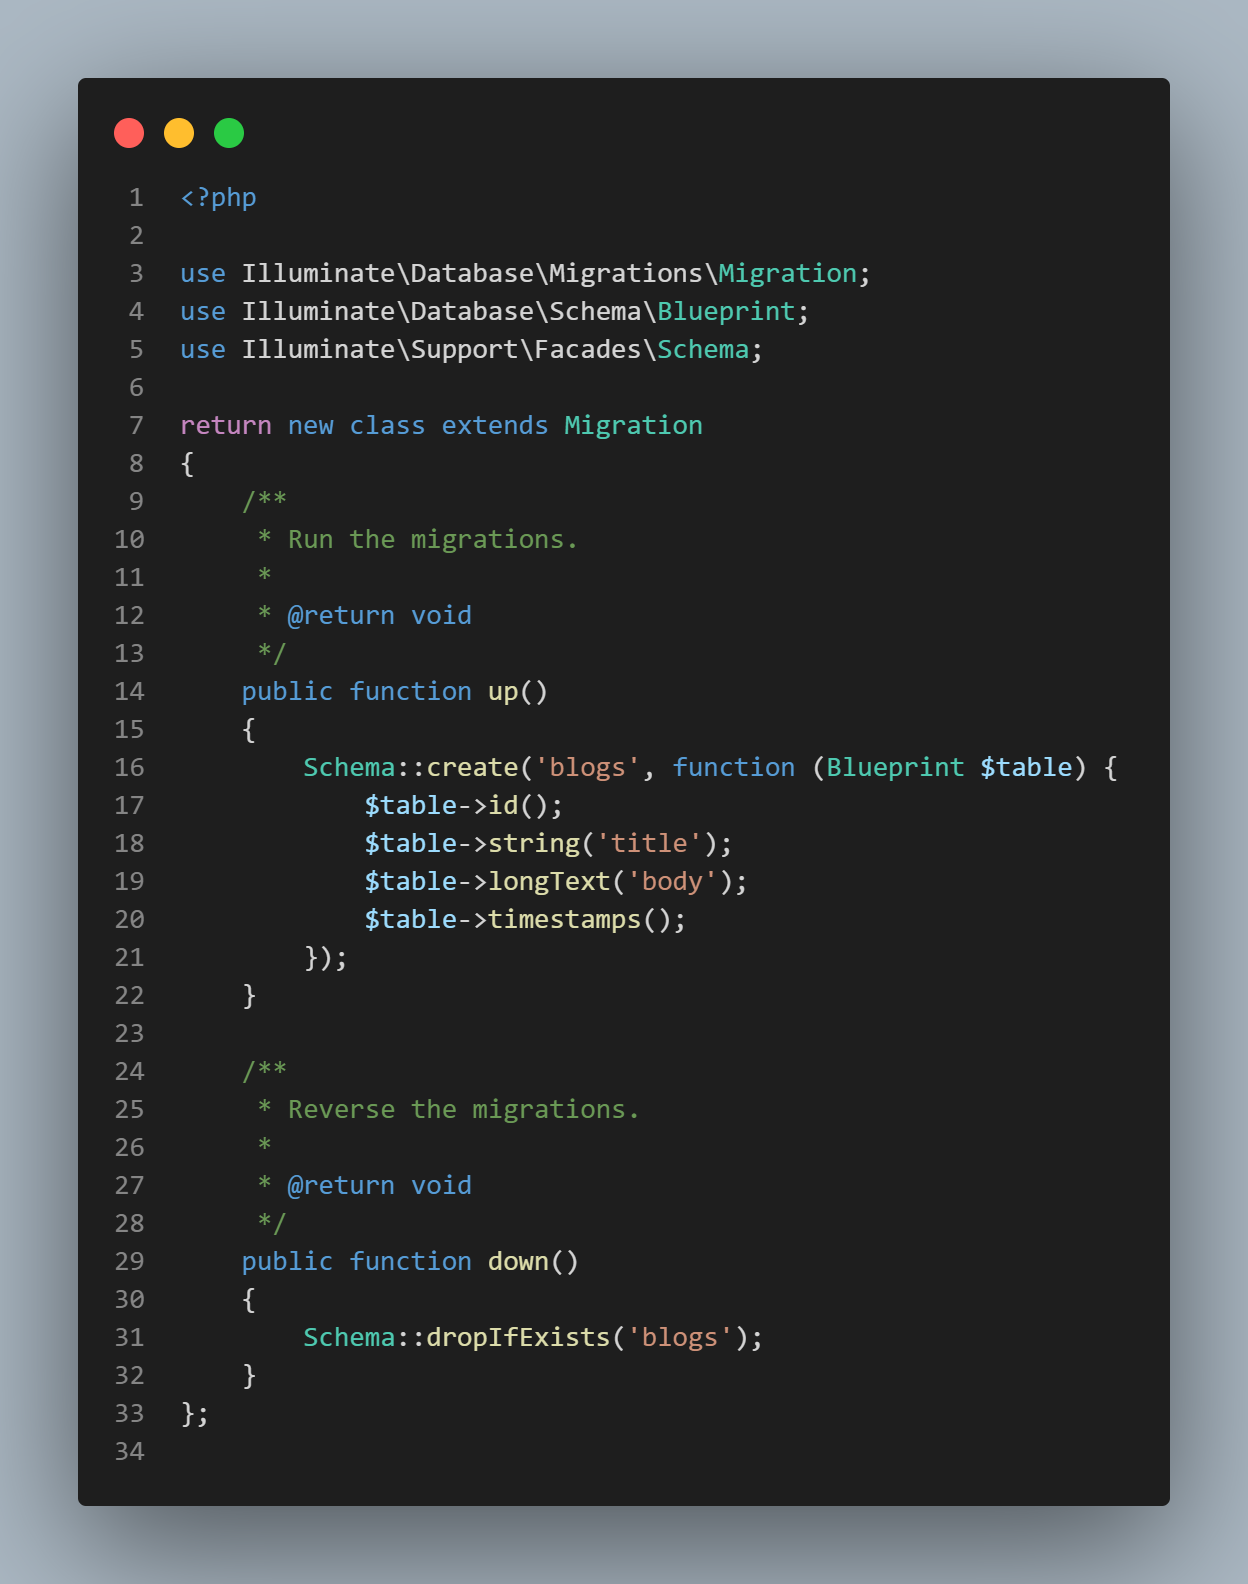
I will just add a simple database schema containing the id, title and body of the blog posts.
public function up()
    {
        Schema::create('blogs', function (Blueprint $table) {
            $table->id();
            $table->string('title');
            $table->longText('body');
            $table->timestamps();
        });
    }
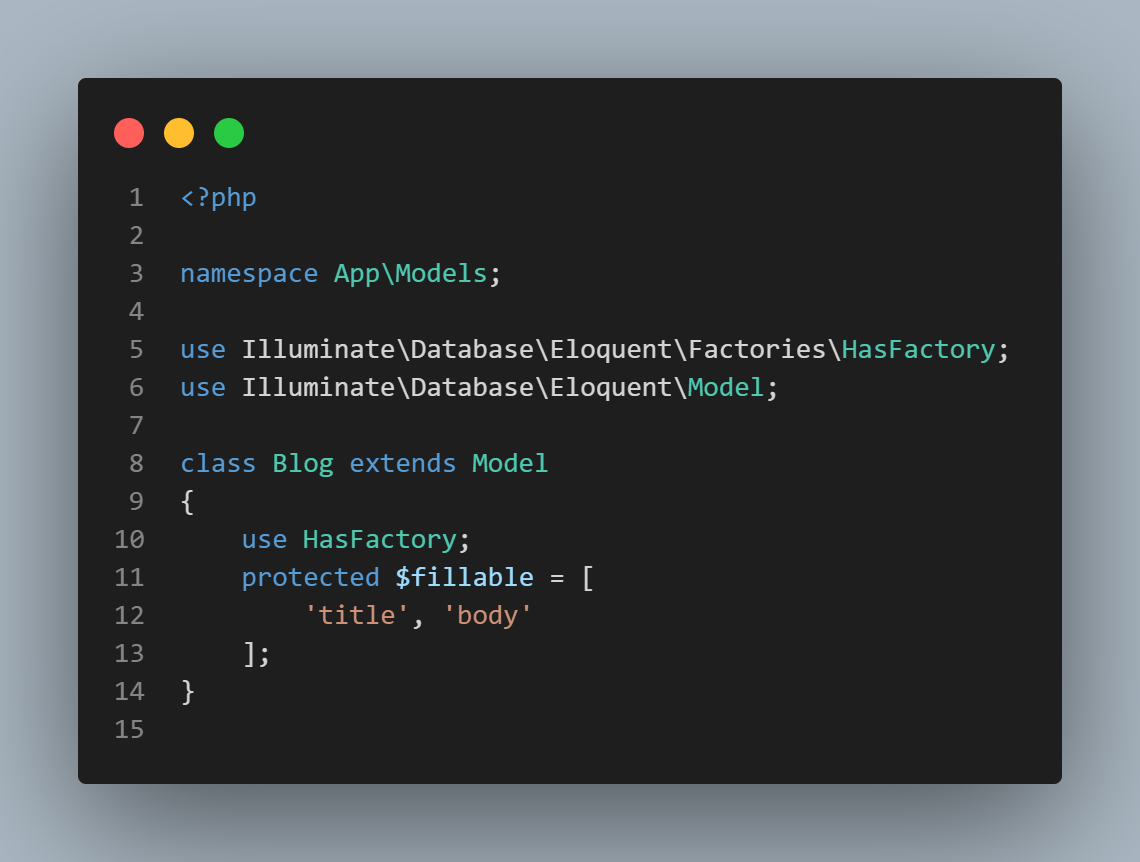
The next step is to specify the mass assignable variables using the $fillable property.
We now need to mask the id attribute to contain the Hashed id. We can use the Eloquent Accessor to return a blog article’s id as a hashed string.
use Vinkla\Hashids\Facades\Hashids;
use Illuminate\Database\Eloquent\Casts\Attribute;
    /**
     * Hash the blog ids
     *
     * @return \Illuminate\Database\Eloquent\Casts\Attribute
     */
    protected function id(): Attribute
    {
        return  Attribute::make(
            get: fn ($value) => Hashids::encode($value)
        );
    }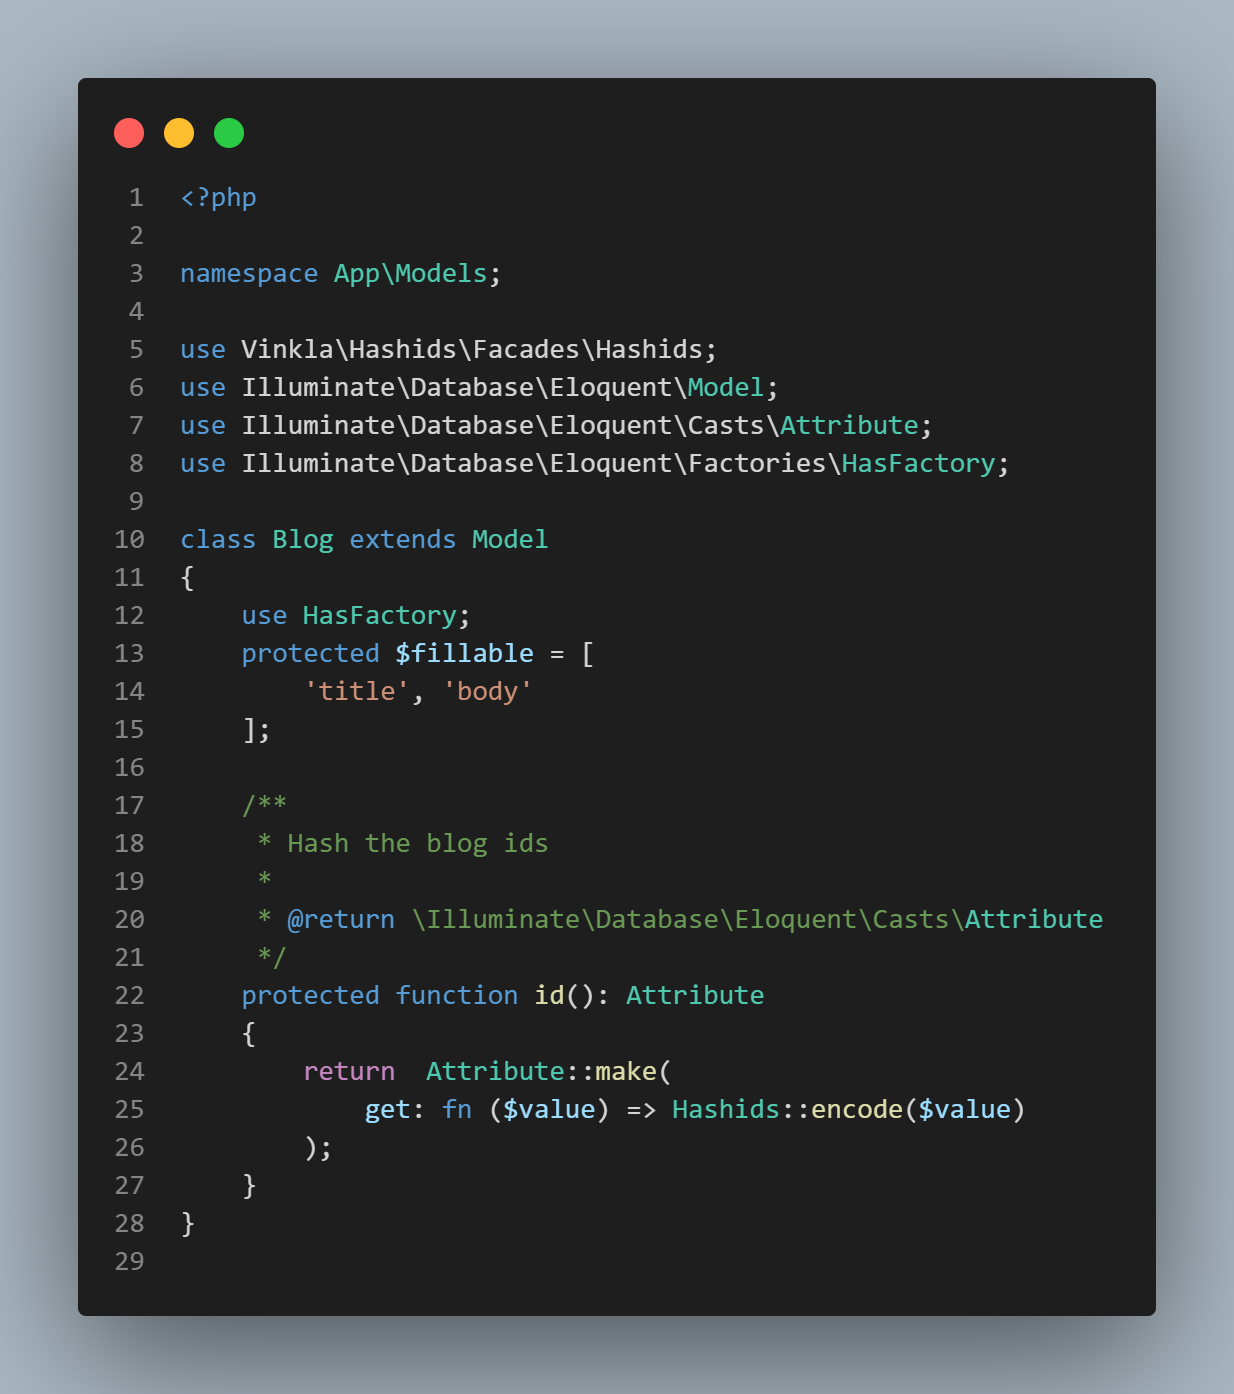
The encode method in the Hashids Facade creates a hash using the salt, alphabets and length we had specified in the config/hashids.php file.
Append Hashed ids to Routes
Once the accessor is set, it is now time to register a route for the blogs. We can use the resource method to register all the routes for the blog Resource in the routes/web.php file.
Route::resource('blog', BlogController::class);
This will return the URLs as http://localhost:8000/blog/QVyG as opposed to http://localhost:8000/blog/1.
Using the hashed ids in the controller
The next step is to use the hashed ids in the controller. We can use the decode function in the Hashids Facade to decode the hashed ids. To demonstrate this, I am going to use the default resourceful Controller methods and map them to their corresponding routes. The decode method returns an array of items so we will need to access the first index as seen in the consecutive methods below.
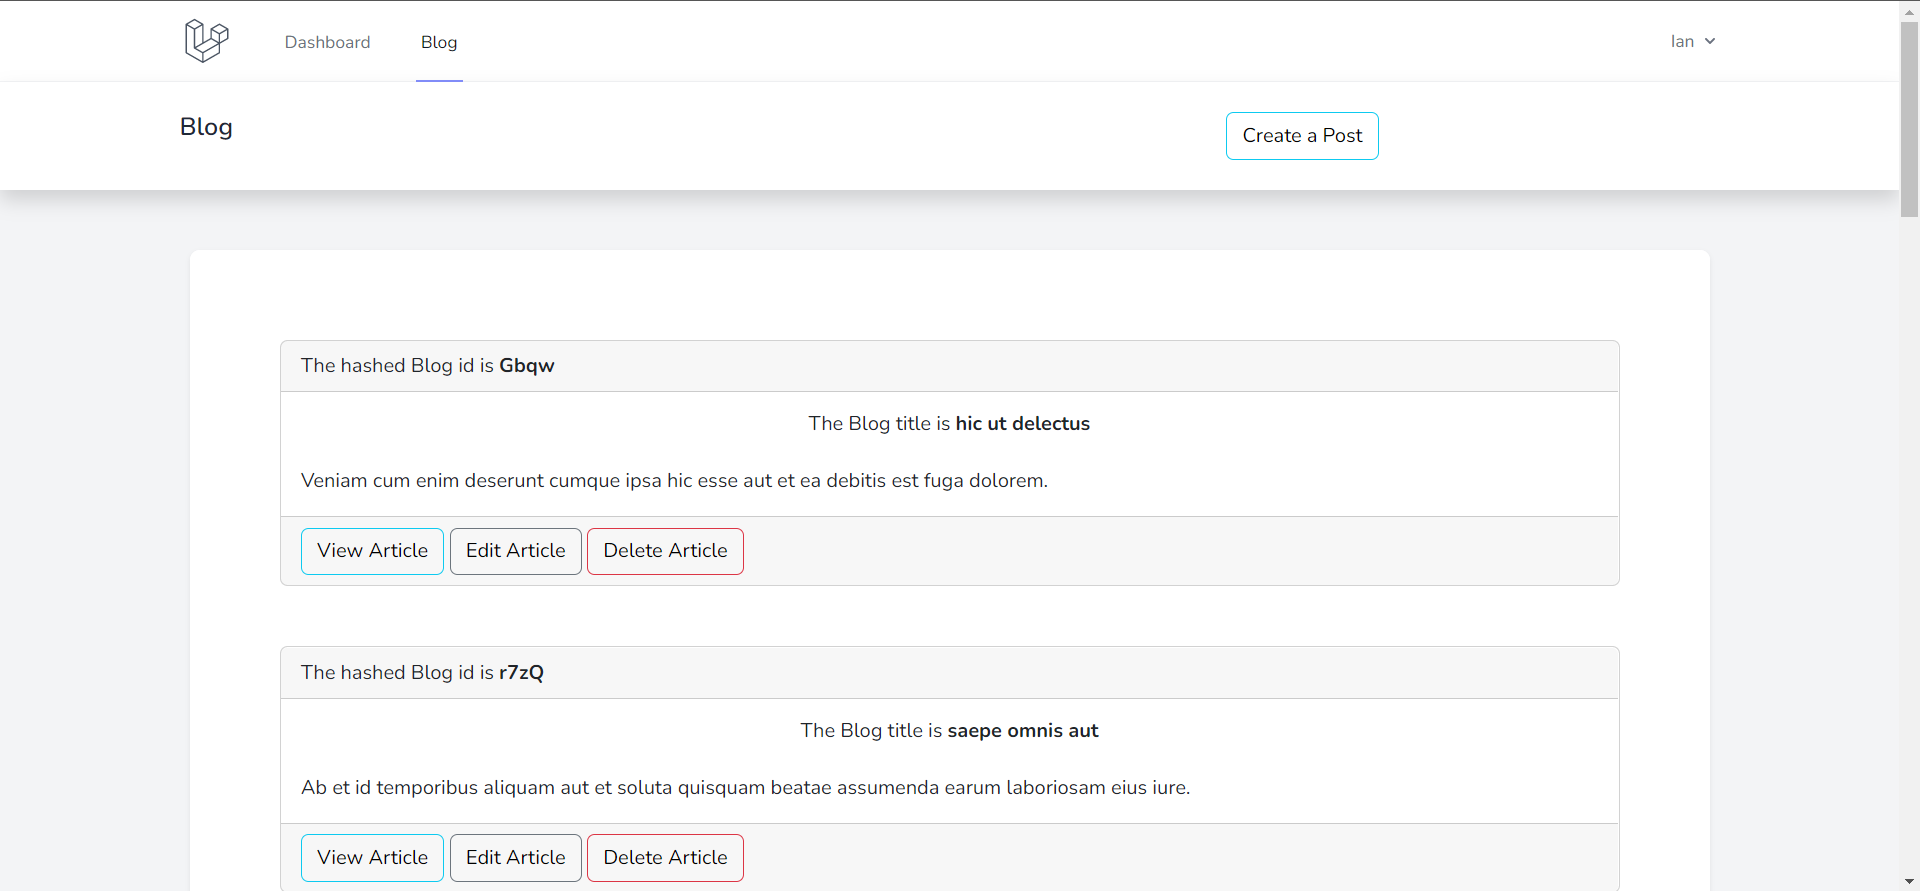
Index(/blog)
This method will retrieve all the records from the database and display them.
Create(/blog/create)
This method returns the view where we can add a blog post
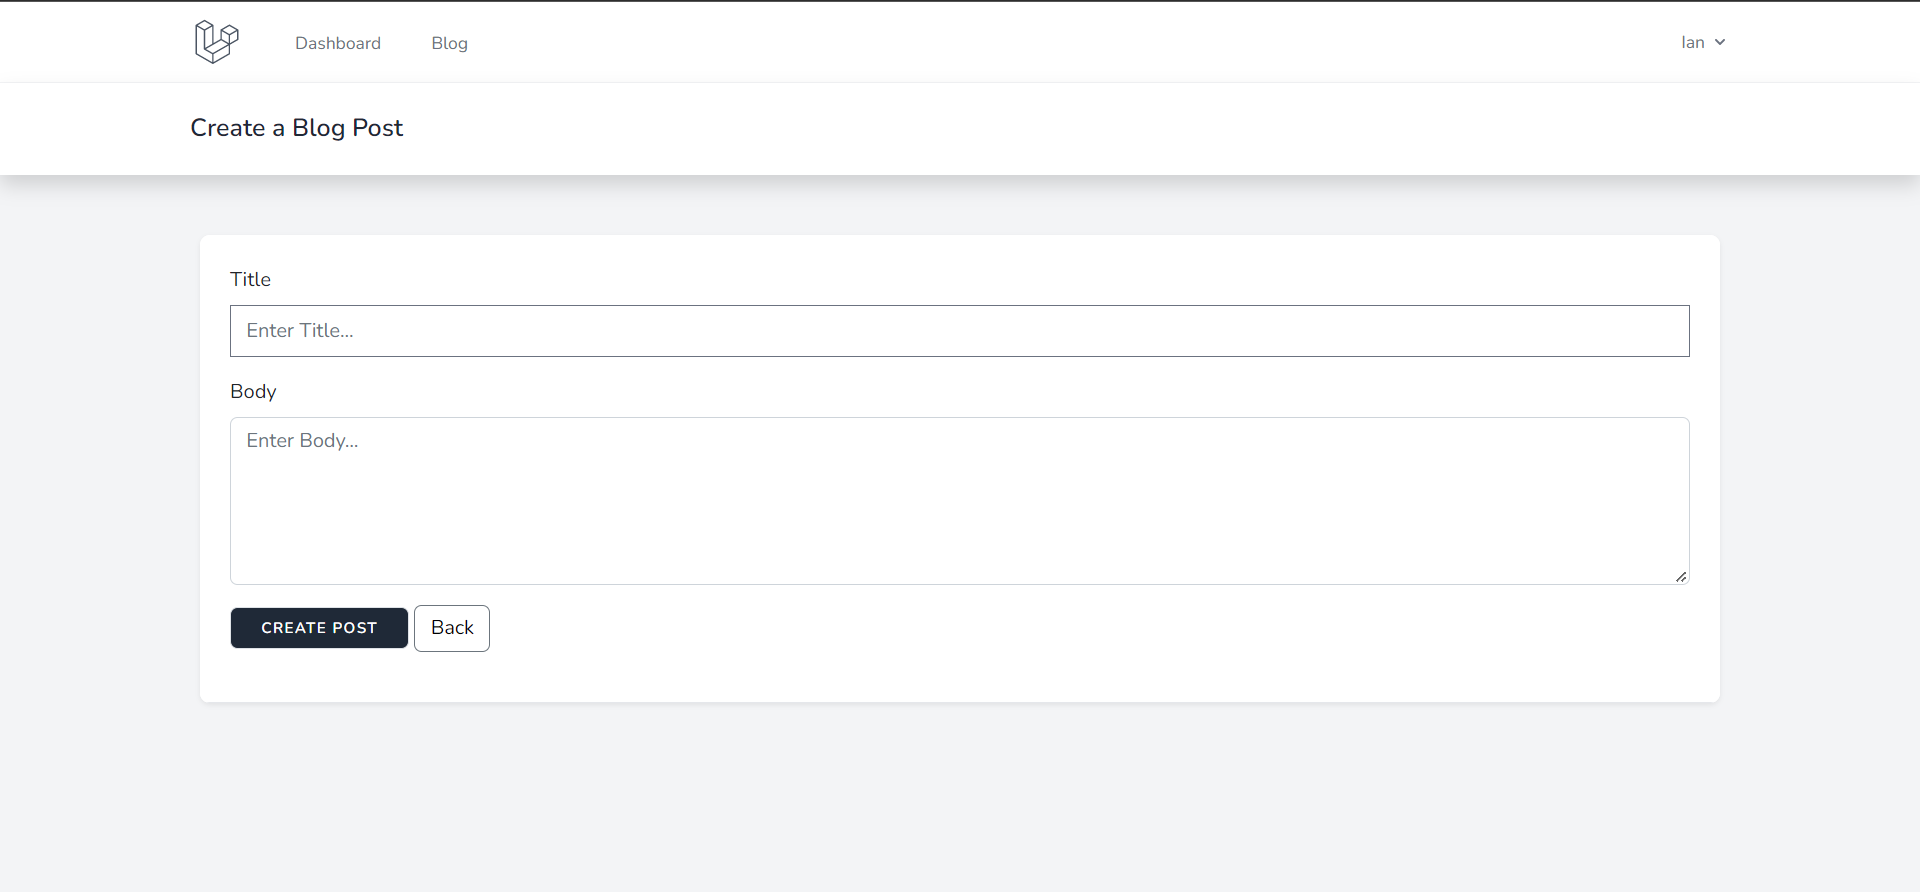
We can now create blog posts normally through the store method.
Show(/blog/hashed_id)
This method decodes the hashed id and then returns the article from the database
use Vinkla\Hashids\Facades\Hashids;
public function show($blog)
    {
        $decoded_id = Hashids::decode($blog); //decode the hashed id
        $blog = Blog::find($decoded_id[0]);
        return view('show', compact('blog'));
    }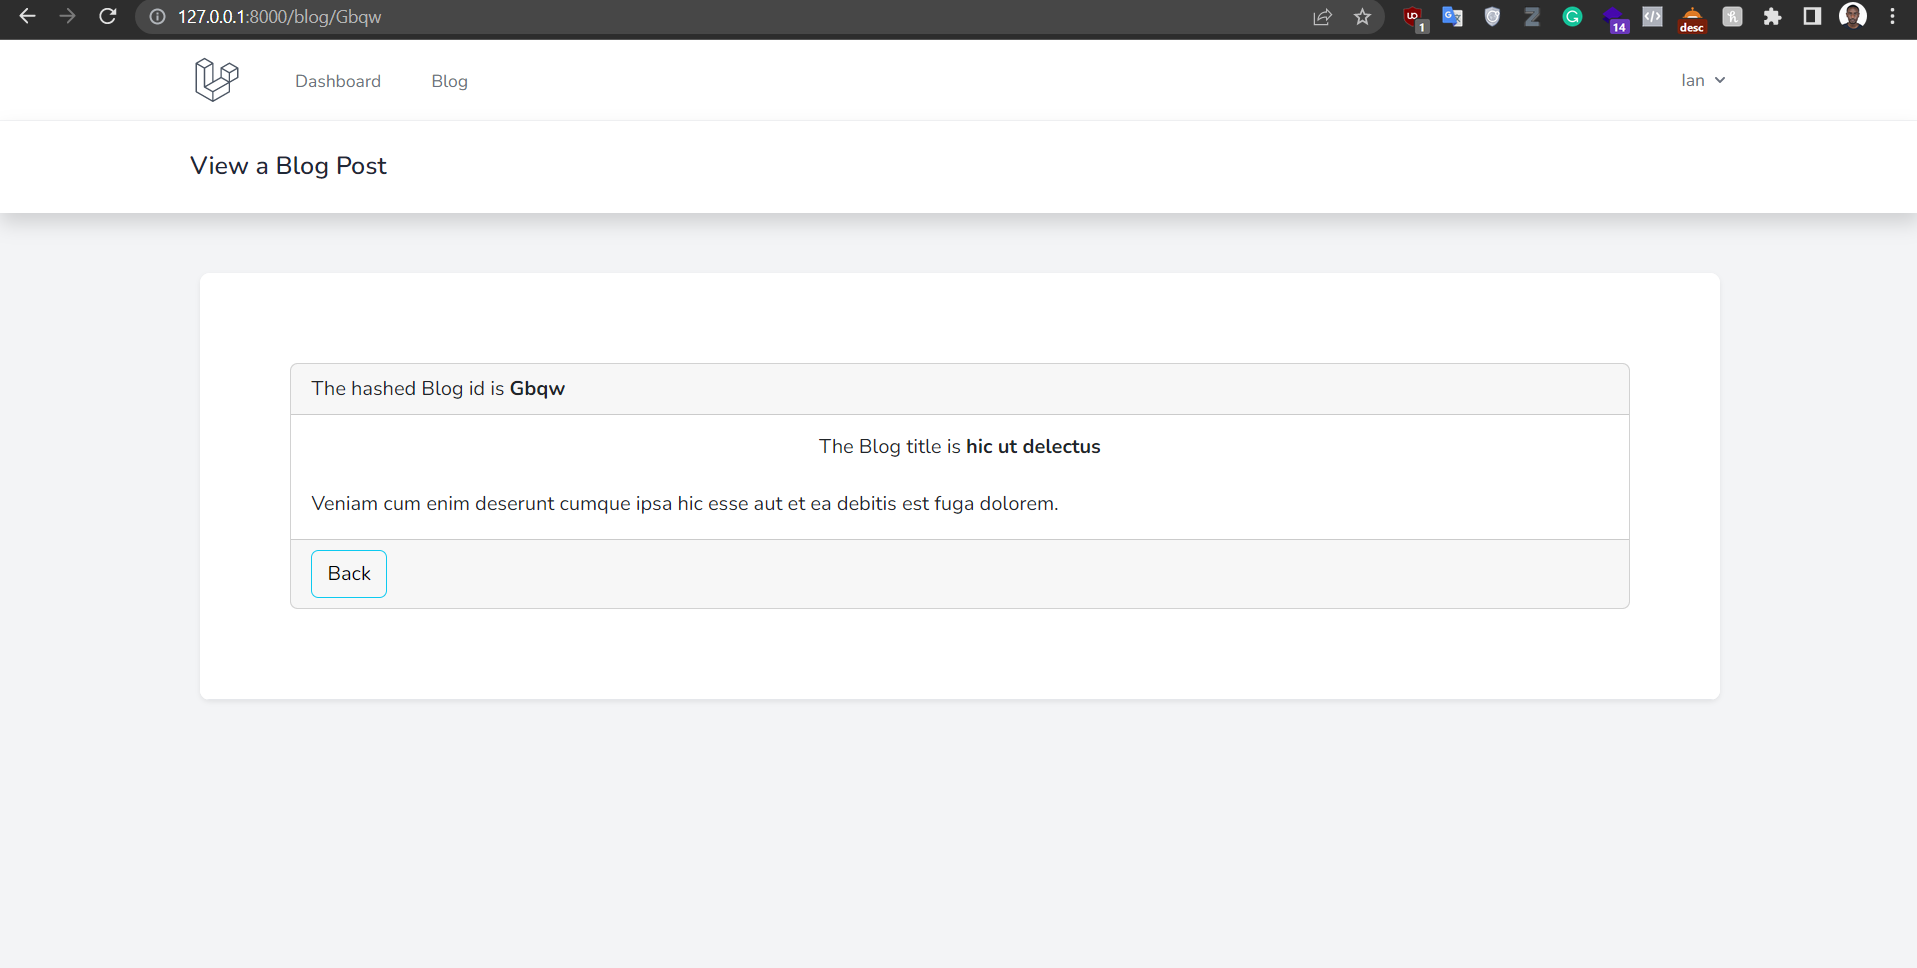
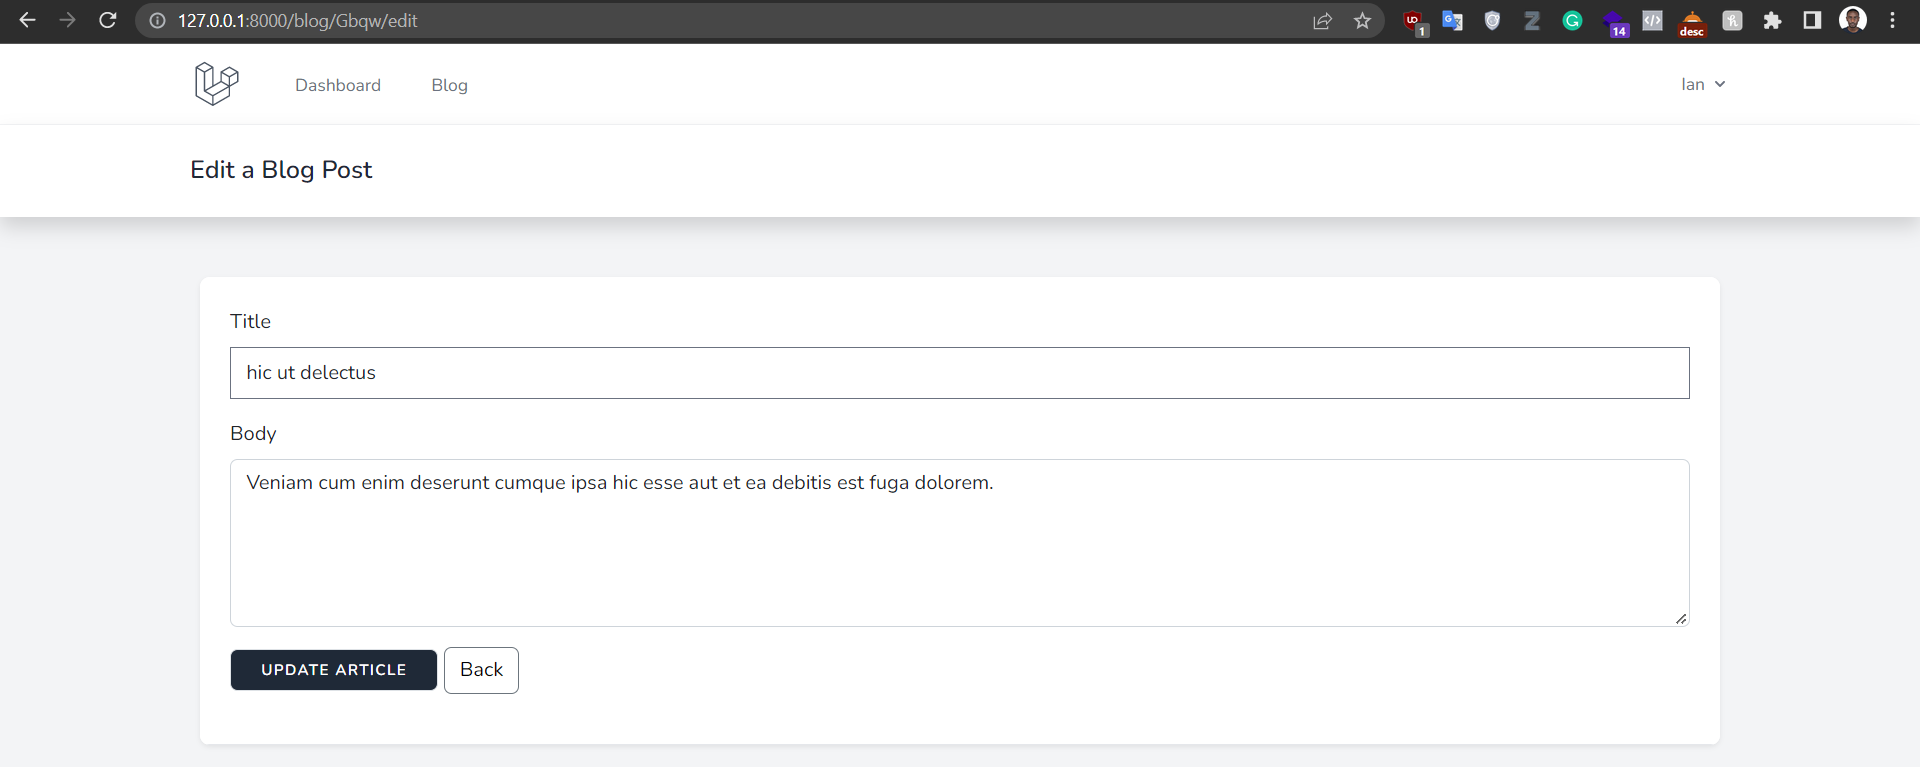
The article is accessible through http://127.0.0.1:8000/blog/Gbqw as opposed to http://127.0.0.1:8000/blog/1. We have masked the default blog id to a random string that can only be decoded at the server level thereby increasing the security of our application.
Edit(/blog/hashed_id/edit)
This method returns the edit view.
use Vinkla\Hashids\Facades\Hashids;
public function edit($blog)
    {
        $decoded_id = Hashids::decode($blog); //decode the hashed id
        $blog = Blog::find($decoded_id[0]);
        return view('edit', compact('blog'));
    }
Through the view, we can update an article through the update method. We would need to decode the hashed string before updating the article.
Delete(/blog/hashed_id)
We can use the same logic and decode the hashed string, getting the article and then deleting it.
use Vinkla\Hashids\Facades\Hashids;
public function destroy($blog)
    {
        $decoded_id = Hashids::decode($blog); //decode the hashed id
        $blog = Blog::find($decoded_id[0]);
        $blog->delete();
        return redirect()->route('blog.index')->with('success', 'Blog Post Deleted Successfully');
    }
Conclusion
In this article, you have learnt how to hide ids from URLs in Laravel using the Hashids package. There are multiple ways we can use the package to our advantage. Another example is hashing user ids in a system. This will return the user ids as hashed and an example of a URL could be http://localhost:8000/users/Gbqw which could be mapped to http://localhost:8000/users/1. I hope this article was able to shed some light on how to use the package. If you have any questions, feel free to ask them in the comment section. Thank you for reading.



You could simplify the controllers by dealing with ::decode in the RouteServiceProvider under RouteModelBinding. This way you would never have to change Controllers
Thanks for the feedback. That is actually a very good idea. I will check into it.