Firebase is a Google-backend application development software that enables developers to develop their applications with ease by abstracting the backend and allowing them to focus on the frontend. Firebase provides tools for analytics, real-time database, cloud messaging(Push Notifications), machine learning solution, and web hosting among other solutions. Laravel Firebase Package helps us integrate Firebase into our application.
In this article, I am going to show you how to integrate Firebase within your Laravel application and add various services offered by Firebase to our Laravel Application.
Installation and Setup
The Laravel Firebase package requires Laravel 8.x and higher versions of Laravel for it to work.
To install the package we can use the following command:
composer require kreait/laravel-firebaseIf for some reason you experience an error during installation regarding the platform requirements, you can add the –ignore-platform-reqs flag that will install the package ignoring the underlying platform requirements. You can use the command as shown:
composer require kreait/laravel-firebase --ignore-platform-reqsConfiguration
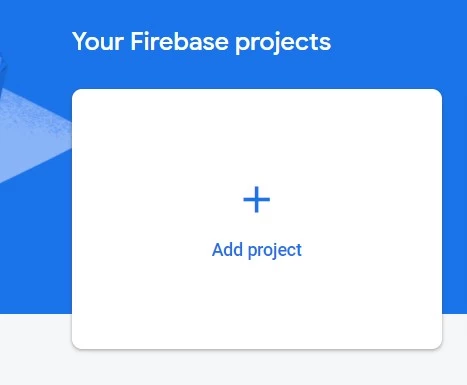
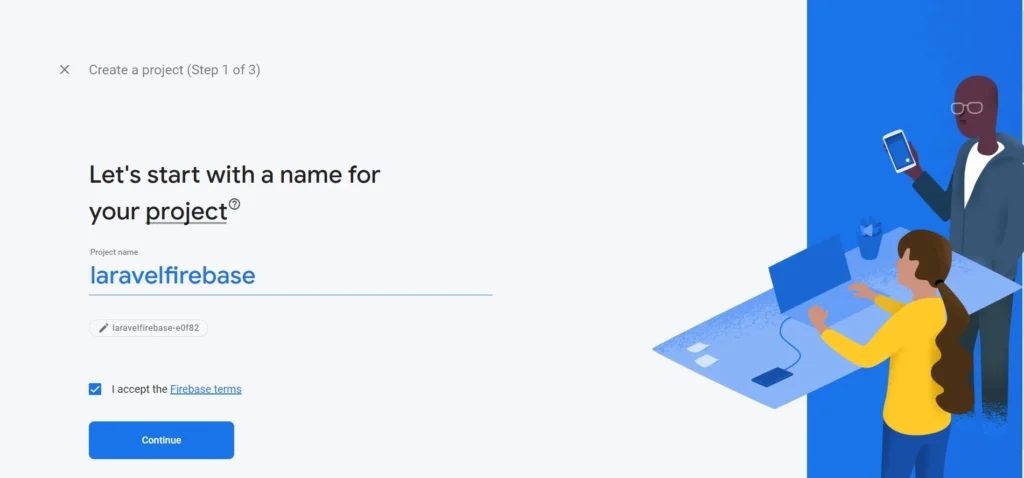
Authentication must be present to authenticate the requests. This requires a service account that will allow us to add the Firebase Admin SDK to our Server. We need to download the firebase Service account JSON file that contains our project credentials. To do so, we need to access the Firebase Console and create a project.
We then need to create a Service account to get the configurations to our firebase project. To do so, go to Settings, Project Settings, and then Select the Service accounts tab.

We then need to download the JSON file containing the project’s credentials by clicking on the Generate new private key.
Once the file is downloaded, we can rename the JSON configuration file and add it to the base of our Laravel application.

To use our project credentials, we first need to publish the default firebase configurations that come with the package. We use the following command:
php artisan vendor:publish --provider="Kreait\Laravel\Firebase\ServiceProvider" --tag=configThis command creates a config/firebase.php file that contains all the Firebase configurations needed to connect to our Firebase project.
We then need to specify the environmental variables in the .env file as shown

We can now add our project configurations to our Laravel .env file
FIREBASE_CREDENTIALS=/full/path/to/firebase_credentials.json
# or
FIREBASE_CREDENTIALS=relative/path/to/firebase_credentials.json
Authentication Using Firebase in Laravel
Laravel provides multiple ways for Authentication such as API authentication using Laravel Passport or Laravel Sanctum, Social Authentication using Laravel Socialite among others. Firebase provides an authentication service that we can also implement in our application. We can create a controller to include the logic for authentication.
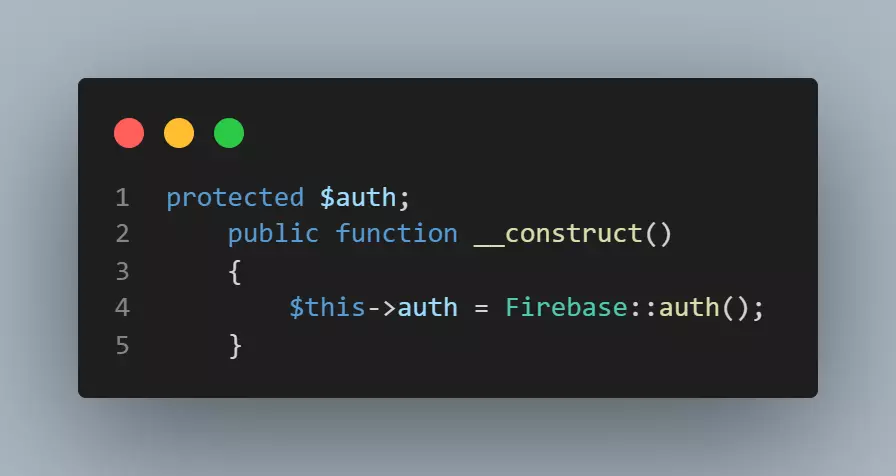
php artisan make:controller FirebaseAuthControllerThe next step is initializing the authentication service using the Firebase Facade from the Kreait Package.
use Kreait\Laravel\Firebase\Facades\Firebase;

protected $auth;
 public function __construct()
 {
   $this->auth = Firebase::auth();
 }
Create Custom tokens
Firebase Admin SDK has built-in methods for creating custom tokens. The uid that uniquely identifies a user/device should be provided.
$uid = 'some-uid';

$customToken = $auth->createCustomToken($uid);
Verify a Firebase ID Token
We need to verify that a token is authentic.
$idTokenString = 'the custom token';

try {
    $verifiedIdToken = $auth->verifyIdToken($idTokenString);
} catch (FailedToVerifyToken $e) {
    echo 'The token is invalid: '.$e->getMessage();
}

$uid = $verifiedIdToken->claims()->get('sub');

$user = $auth->getUser($uid);
Custom Authentication Flows
We can use multiple flows to authenticate a user. For example, I am going to use the signing with email and password flow.
We will first need to activate the sign-in method in firebase. Firebase provides multiple providers for authentication.
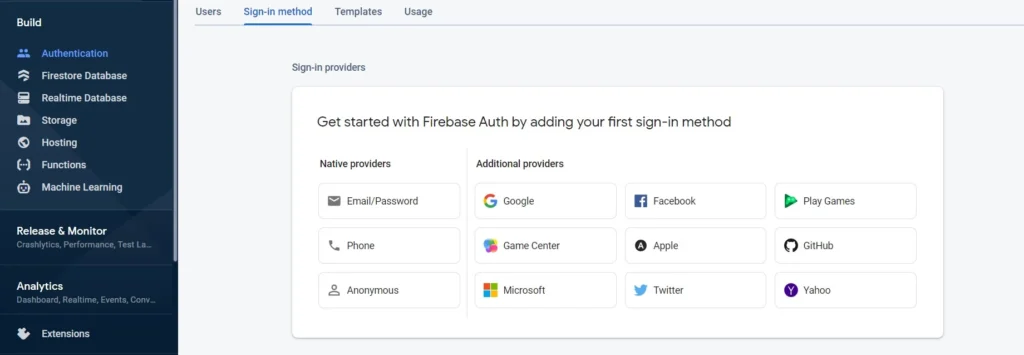
We can now activate the email/password authentication flow as shown below

Once the provider is enabled, we can now authenticate users using their emails and password. Let’s add the authentication logic to our application.

With that, we are now able to authenticate users using firebase through their emails and passwords.
Other authentication flows include:
$auth->signInAnonymously();
$auth->signInWithEmailAndPassword($email, $Password);
$auth->signInWithEmailAndOobCode($email, $oobCode);
$auth->signInWithCustomToken($customToken);
$auth->signInWithRefreshToken($refreshToken);
$auth->signInAsUser($userOrUid, array $claims = null);
If any of these methods are used, a user session is created.
Invalidate user sessions
To sign out a user, we can revoke the refresh token that is used to create a new token. By default, a token has a one-hour lifespan meaning that the token will remain active until it expires. To revoke the refresh token, we need to provide the uid. We also need to use the revokeRefreshTokens() method.
$auth->revokeRefreshTokens($uid);We can verify that an ID token is revoked by using the Auth::verifyIdToken() method with the second parameter is true. If the check fails, a RevokedIdToken Exception will be thrown.
try {
    $verifiedIdToken = $auth->verifyIdToken($idTokenString, $checkIfRevoked = true);
} catch (RevokedIdToken $e) {
    echo $e->getMessage();
}
Laravel CRUD Using Firebase Real Time Database
Another service provided by Firebase is the real-time database. We can connect to it and use it as the main database for our application using a controller.
php artisan make:controller FirebaseControllerA constructor can be used to initialize the real-time database instance through the app() helper.
protected $database;
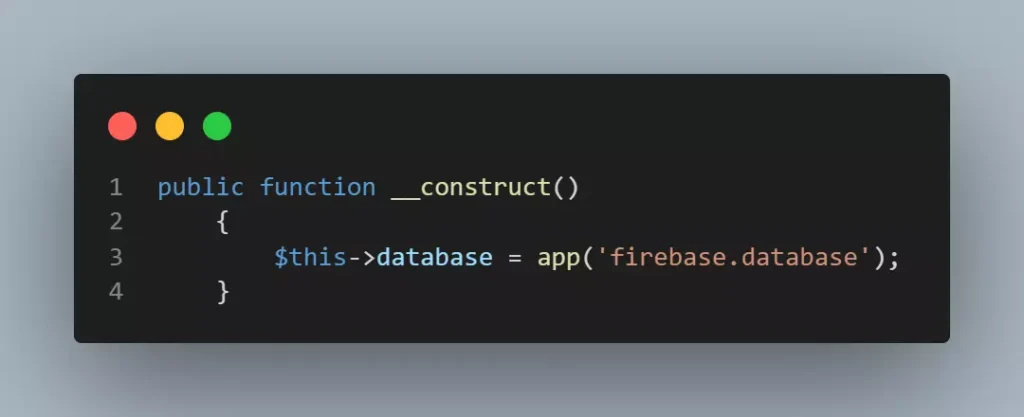
public function __construct()
{
$this->database = app('firebase.database');
}
We can now use the $database variable to interact with our real-time database.
$database->getReference('path/to/child/location');Create/Add Data
To save data to a specific reference, we can use the set() method. This method replaces any existing data at that path.
For example, if we may want to add data about an invoice, we can do as follows:
$database->getReference('customer/invoice')
   ->set([
       'amount'=>500,
       'currency'=>'$',
       'payment_method'=>'paypal'
      ]);
To append data to a list, we can use the push() method. It generates a unique key each time a new child is added to a specific Firebase reference.
$postData = [
    'customer' => 'John',
    'email' => 'email@example.com'
];
$postRef = $database->getReference('customer')->push($postData);
$postKey = $postRef->getKey();
Read/Retrieve Data
We can retrieve a Database Snapshot or the value directly. A snapshot is an immutable copy of the data at a Firebase Database location at the time of a query. It cannot be modified or changed.
$snapshot = $reference->getSnapshot();
$value = $snapshot->getValue();
// or
$value = $reference->getValue();
For more information on the queries, you can refer to the Documentation.
Update
To write to a specific child node without overwriting the other nodes, you can use the update() method. For example, in our invoice application, we might want to update the status of an invoice. We can use the code below:
$uid = 'customer's id';
$postData = [
    'status' => 'isPaid'
];

// Create a key for a new invoice
$newInvoiceKey = $database->getReference('customer/invoice')->push()->getKey();

$updates = [
    'customer/invoice/'.$newInvoiceKey => $postData,
    'customer-invoice/'.$uid.'/'.$newInvoiceKey => $postData,
];

$database->getReference()->update($updates);
Delete
We can delete a reference and all its data with the remove() method:
$database->getReference('customer/invoice')->remove();For more information on the queries, check out the Documentation.
Conclusion
Firebase provides multiple services that can be useful for faster development. We have seen some of the services and how to integrate them into our Laravel application. I hope this article was able to highlight some of the services and how to integrate them into our application. If you have any questions, feel free to ask them in the comment section and I will try to answer them. Thank you for reading.